
If you’ve just added RAM to a DL380 Gen11 and the server throws 3046 – Unsupported DIMM Configuration or 3183 – DIMM population not validated, don’t panic. In almost every case, nothing is “wrong” with the memory itself—the DIMMs are simply in the wrong slots for this generation’s layout rules.
What these messages actually mean
- 3046 appears when one or more DIMMs are sitting in slots that Gen11 doesn’t allow for your current DIMM count.
- 3183 means the overall layout will work but isn’t a validated pattern, so you might see reduced performance or disabled interleaving.
In short: move the sticks to the right slots and the errors disappear.
The quick fix (most people only need this)
- Count how many DIMMs you’re installing per CPU.
- Use the validated slot numbers below for that exact count.
- If you have one processor installed, populate only CPU1.
If you have two processors, mirror the layout across both CPUs. - Keep DIMM types consistent (don’t mix UDIMM/RDIMM/LRDIMM/3DS) and aim for matched capacity/speed.
Validated slot patterns (per one CPU)
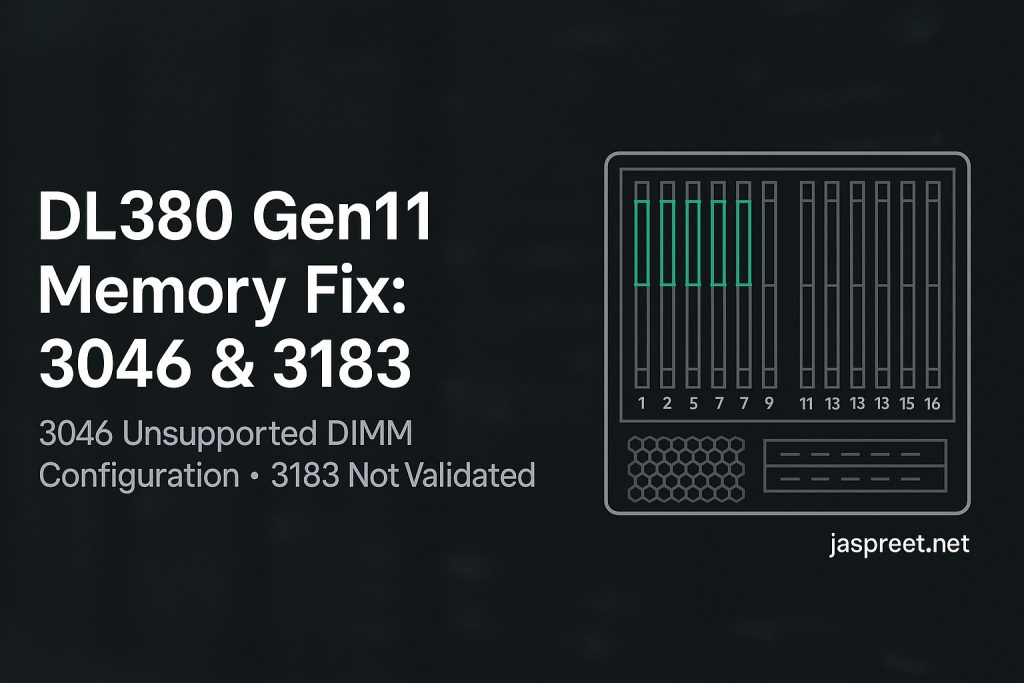
DL380 Gen11 numbers its slots 1–16 per CPU (two DIMMs per channel). Use these exact positions:
- 1 DIMM: 10
- 2 DIMMs: 3, 10
- 4 DIMMs: 3, 7, 10, 14
- 6 DIMMs: 3, 5, 7, 10, 14, 16
- 8 DIMMs: 1, 3, 5, 7, 10, 12, 14, 16
- 12 DIMMs: 1, 2, 3, 5, 6, 7, 10, 11, 12, 14, 15, 16
- 16 DIMMs: 1–16 (all)
Tips:
- The white-latch slots are the first-of-channel positions and are populated before their partners.
- Speed will down-clock to the slowest module; that’s normal.
Two-CPU examples (good NUMA balance)
- 4 DIMMs total: P1 = 3 & 10, and P2 = 3 & 10
- 8 DIMMs total: P1 = 1, 3, 5, 7 and P2 = 10, 12, 14, 16
(You can also mirror any other validated pattern across both sockets.)
Step-by-step (10 minutes, end-to-end)
- Power down the server, unplug power, and follow ESD precautions.
- Move the DIMMs into the validated slot numbers for your count (see above).
- Boot and press F9 → System Configuration → BIOS/Platform Configuration → Memory Options.
- Set Advanced Memory Protection to Advanced ECC while testing.
- Leave Node Interleaving Disabled unless you specifically need it.
- In iLO → Server Health → Memory, confirm all DIMMs show Healthy and interleaved.
- Still seeing errors? Update to the latest System ROM and iLO firmware and test again.
Why this happens so often
- Gen11 uses a numeric slot map (1–16) and different first-fill order than many admins expect.
- Placing 4 DIMMs in 1/3/5/7 feels logical—but Gen11’s validated pattern is 3/7/10/14.
- Using slots on CPU2 when only CPU1 is installed will trigger warnings.
- Some AMP modes (like Mirroring/ADDDC) require very specific counts; Advanced ECC is simplest while you validate placement.
Admin checklist
- Use the validated slot pattern for your DIMM count.
- Don’t mix DIMM types; keep capacity/speed consistent.
- If two CPUs are installed, mirror the layout across sockets.
- Set AMP = Advanced ECC while testing.
- Update System ROM and iLO if issues persist.
- Reboot and verify no 3046/3183, interleaving enabled.
Further reading (handy links)
- DL380 Gen11 — Memory layout diagram (PDF, hosted on jaspreet.net):
https://www.jaspreet.net/wp-content/uploads/2025/09/HPE-ProLiant-DL380-Gen11-memory-layout.pdf - Server memory population rules for HPE Gen11 (Intel Xeon) — Technical White Paper (PDF):
https://www.hpe.com/psnow/doc/a50007437enw - UEFI System Utilities User Guide for HPE Compute Gen11:
https://support.hpe.com/hpesc/public/docDisplay?docId=sd00003788en_us - Troubleshooting Guide for HPE ProLiant Gen11 Servers (PDF):
https://support.hpe.com/hpesc/public/docDisplay?docId=sd00002310en_us
Quick reference (print or pin)
- 1 DIMM: 10
- 2 DIMMs: 3, 10
- 4 DIMMs: 3, 7, 10, 14
- 6 DIMMs: 3, 5, 7, 10, 14, 16
- 8 DIMMs: 1, 3, 5, 7, 10, 12, 14, 16
- 12 DIMMs: 1, 2, 3, 5, 6, 7, 10, 11, 12, 14, 15, 16
- 16 DIMMs: 1–16
That’s it. Put the sticks where Gen11 expects them and both 3046 and 3183 go away—along with those 3 a.m. reboots.