
If you’ve followed our earlier guide on running multiple PHP versions on IIS 10 with FastCGI (PHP 8.1 through 8.4), you already know how powerful and flexible IIS can be when hosting PHP applications. That article showed how to assign different PHP versions to different sites using FastCGI, giving you freedom to support legacy apps alongside modern projects.
But what if all your sites use the same PHP version, yet you want them to have different php.ini configurations — such as:
- Higher upload limits for one site
- More memory for a heavy WooCommerce store
- Custom extensions enabled for a specific client app
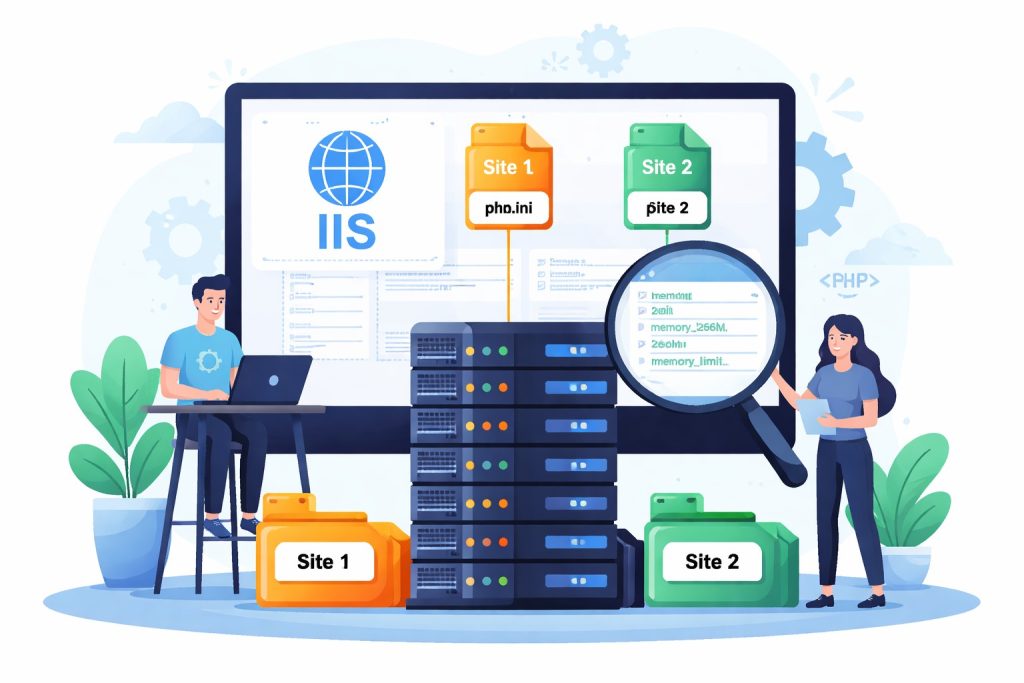
That’s exactly what we’ll cover in this post. You’ll learn how to run multiple php.ini files on the same PHP installation, assigning each configuration to its own IIS website.
👇 Why This Matters
When multiple sites share one PHP version, they also share a single php.ini by default. This means:
✔ Settings conflicts between sites
✔ One site’s memory limits affect all others
✔ Extensions enabled for one site may load unnecessarily everywhere
Separating configurations helps you maintain stability, performance, and security.
Step 1 — Prepare Per-Site PHP Config Folders
Let’s assume you have PHP installed at:
C:\PHP\Create individual config folders for each site:
C:\PHP\site1\
C:\PHP\site2\
Copy your existing php.ini into each:
C:\PHP\php.ini  →  C:\PHP\site1\php.ini
C:\PHP\php.ini  →  C:\PHP\site2\php.ini
Now edit each file based on what that site needs — e.g., change:
memory_limit, upload_max_filesize, post_max_size, etc.This gives you custom settings per site without interfering with others.
Step 2 — Create Separate FastCGI App Entries in IIS
Next, open IIS Manager → Click your server node → FastCGI Settings.
You should see your PHP FastCGI application already listed (if you followed the earlier multi-PHP setup).
Duplicate the PHP FastCGI entry as many times as you have sites:
- Right-click → Copy
- Right-click → Paste
Now edit each copy and add an environment variable:
Name:  PHPRC
Value: C:\PHP\site1
(and C:\PHP\site2 for the next one)
This tells PHP where to find the correct php.ini for that FastCGI app.
Step 3 — Bind Each FastCGI to Its Site
For each IIS site:
- Click the site
- Open Handler Mappings
- Add Module Mapping…
- Request path:
*.php - Module:
FastCgiModule - Executable: select the FastCGI entry that points to the custom
PHPRC - Name: something like
PHP_Site1_CGI
- Request path:
Repeat for site2 and other sites.
Now each site will use a FastCGI instance with its own php.ini.
Step 4 — Test With phpinfo()
In each site’s root:
<?php phpinfo(); ?>Access it in your browser and check Loaded Configuration File — it should show:
C:\PHP\site1\php.inifor site1, and the corresponding file for site2.
💡 When to Use This vs. .user.ini
If you only need small overrides (like upload limits), you can use .user.ini in the site root. But for full control — such as enabling/disabling extensions, altering opcache, or memory tuning — separate php.ini files are the best choice.
🔗 How This Complements Your Multi-PHP Setup
Your previous article walked through running different versions of PHP for different sites using FastCGI.
This post takes the next logical step:
Even when you run the same PHP version, you can still isolate configurations.
Together, these two guides give you full control:
✅ Separate PHP versions
✅ Separate PHP configurations
✅ Per-site performance and compatibility tuning
Final Thoughts
IIS + FastCGI is a powerful combination for hosting WordPress (and other PHP) sites. Whether you’re supporting legacy apps or optimizing modern CMS installations, being able to fine-tune PHP per site is a major advantage.